 WinkNotesHelp
Add WinkNotes MCP to WorkBuddy
Follow the steps below to connect WinkNotes to WorkBuddy.
Add manually
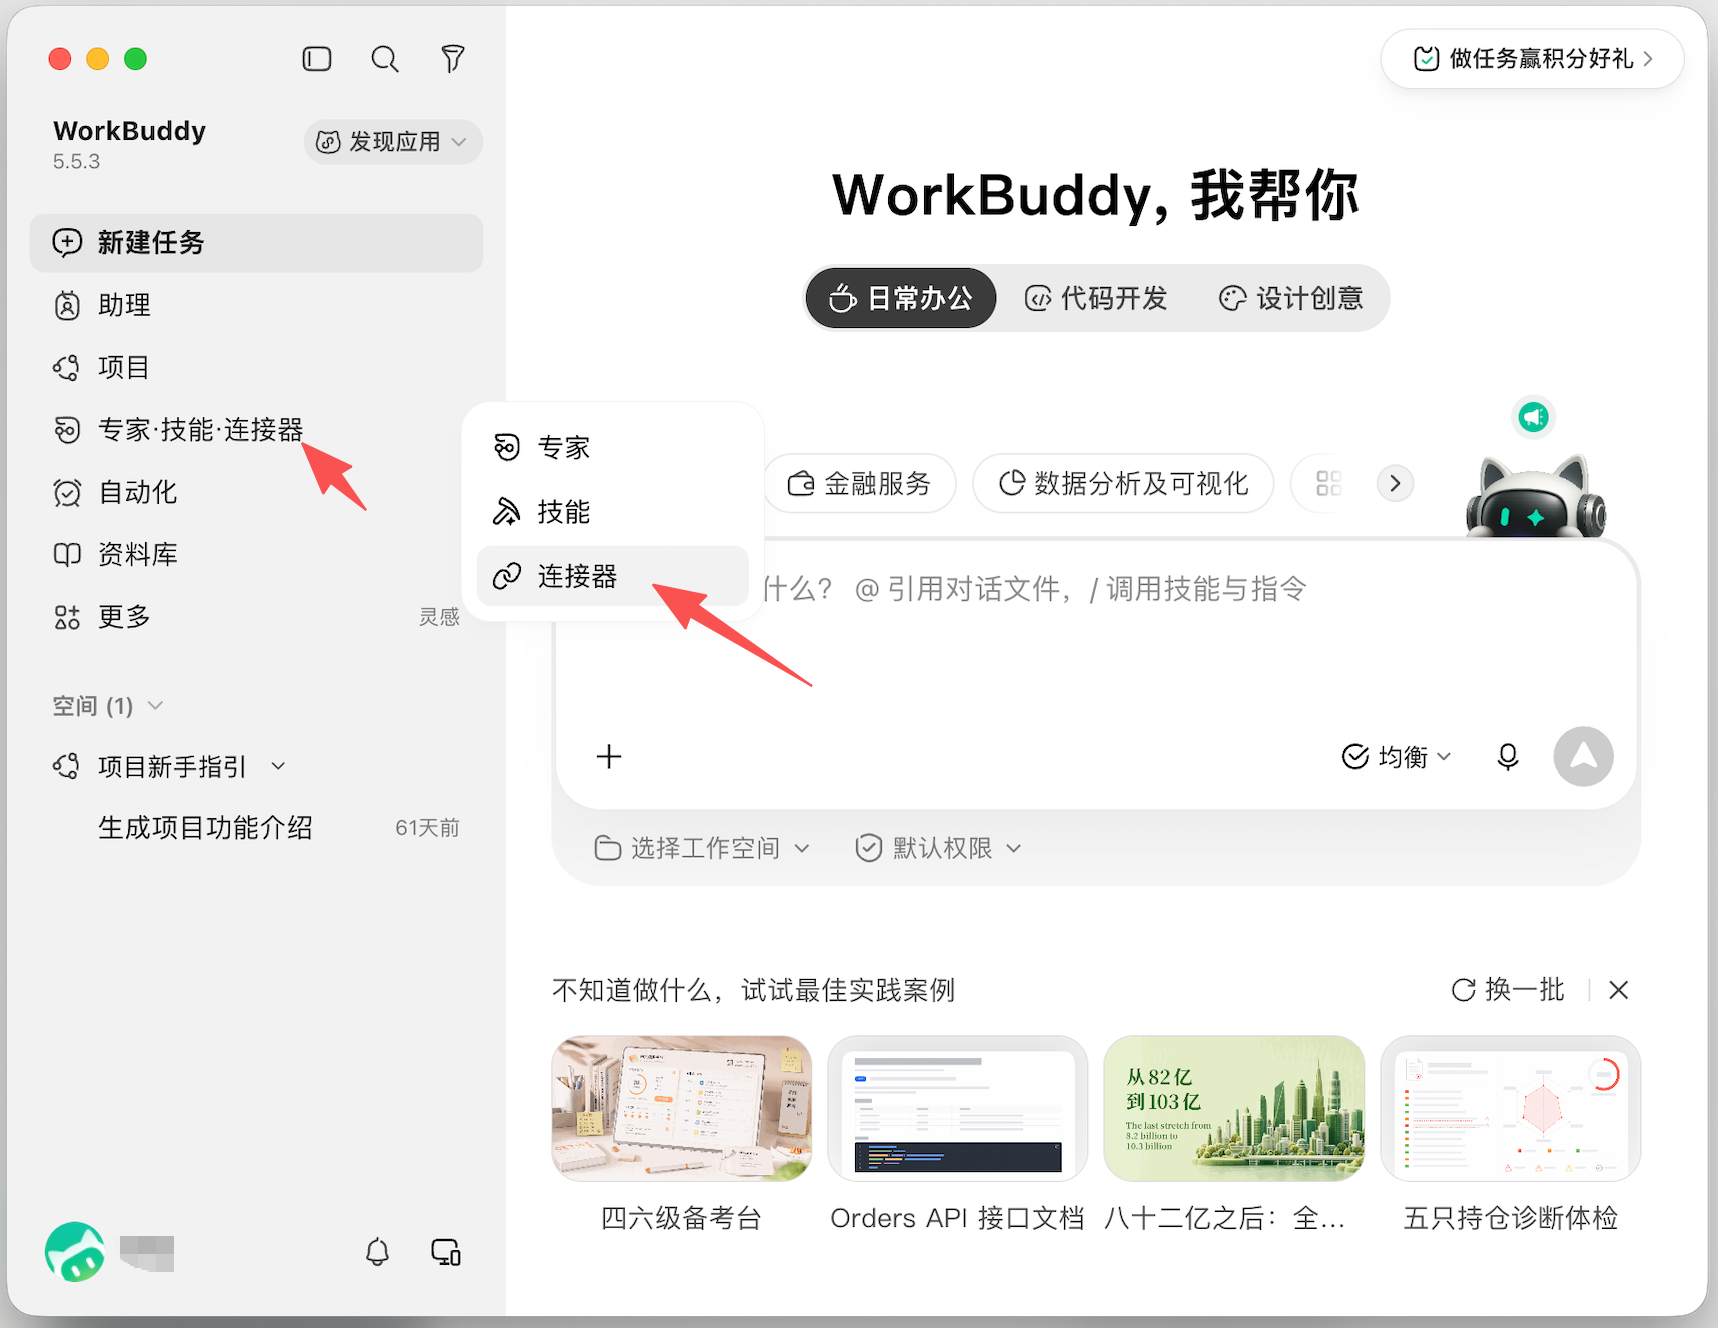
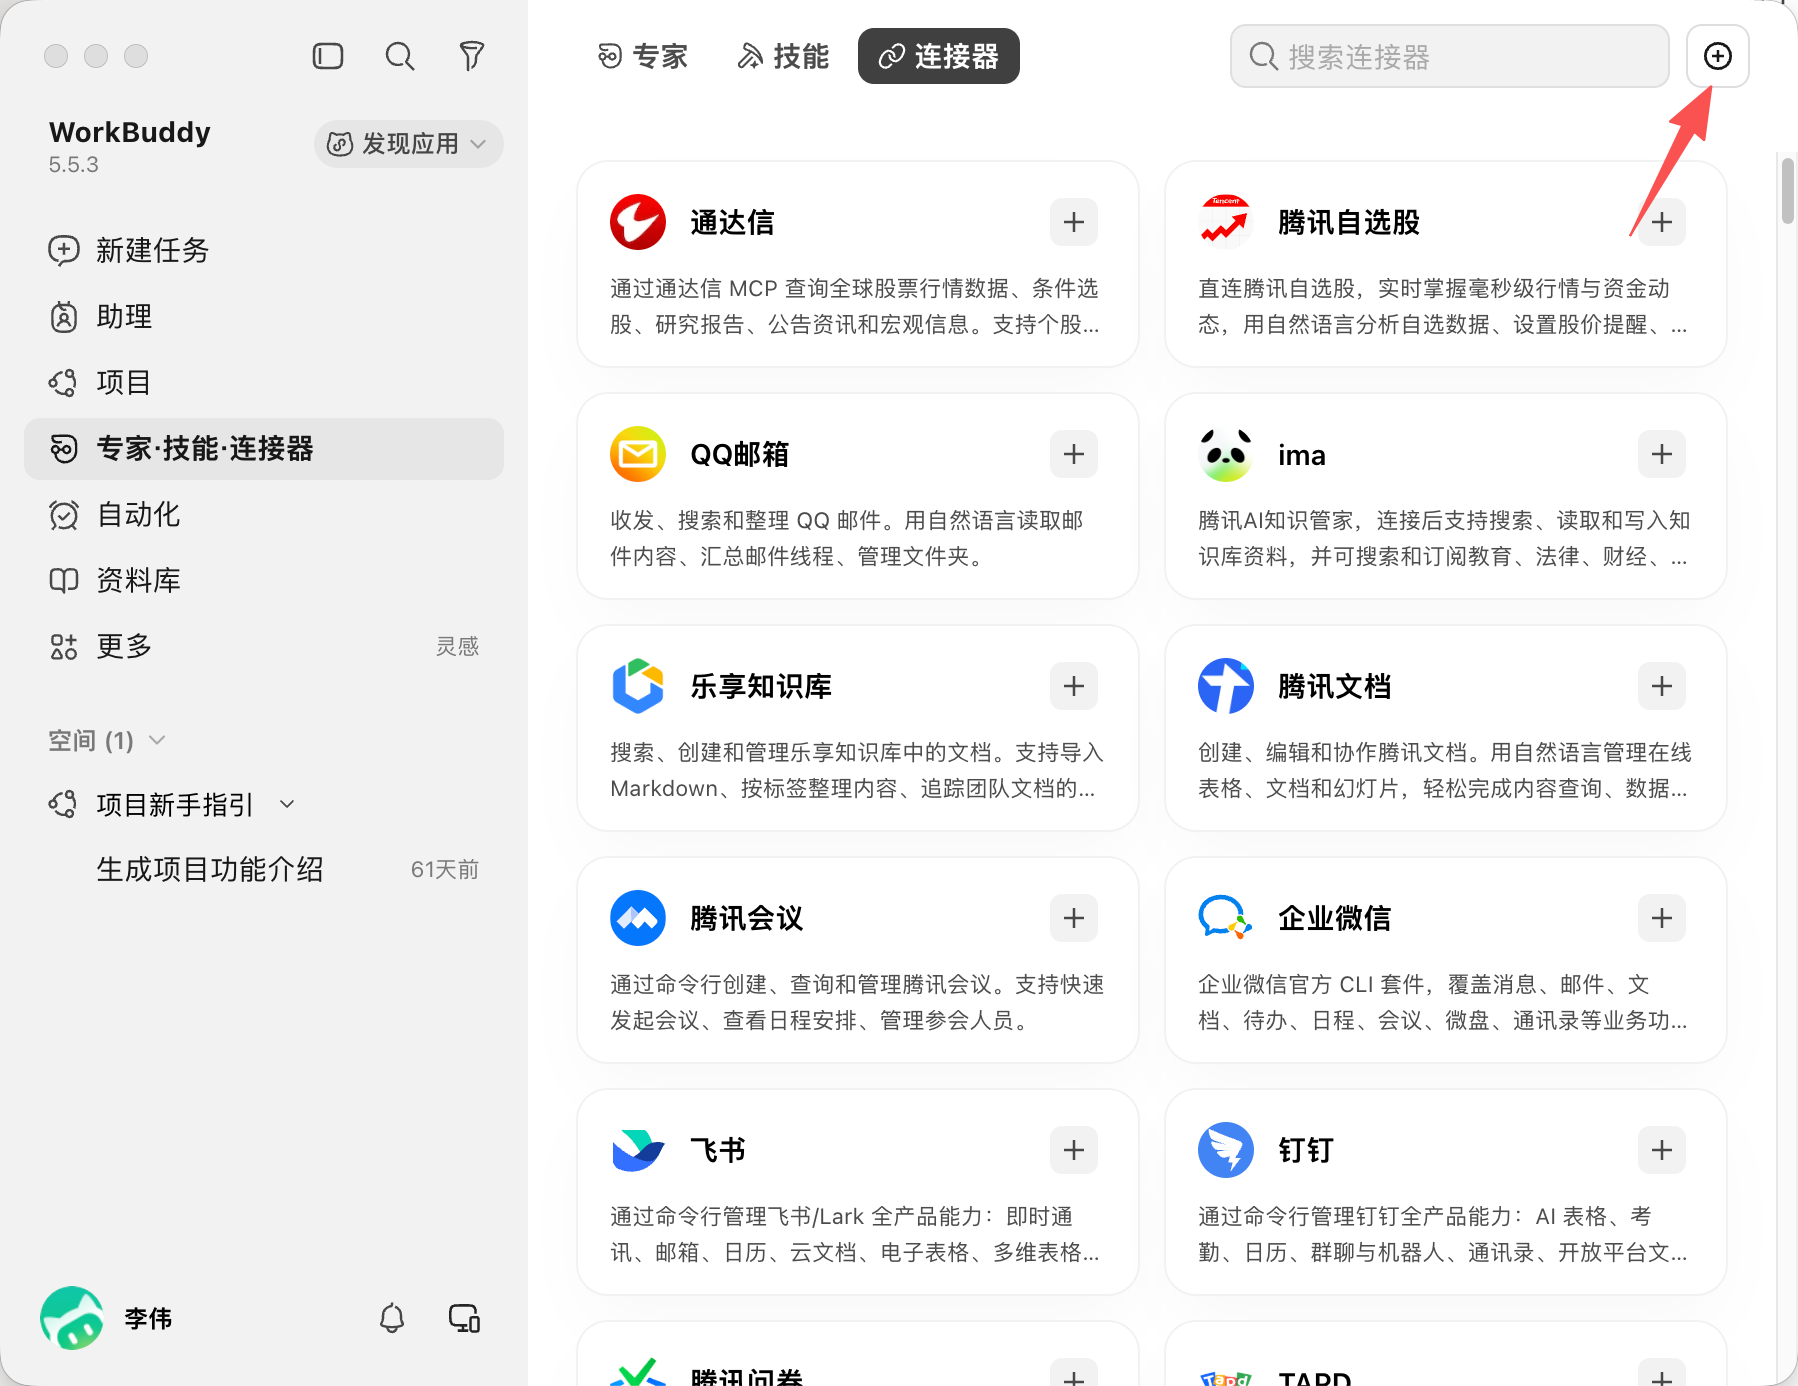
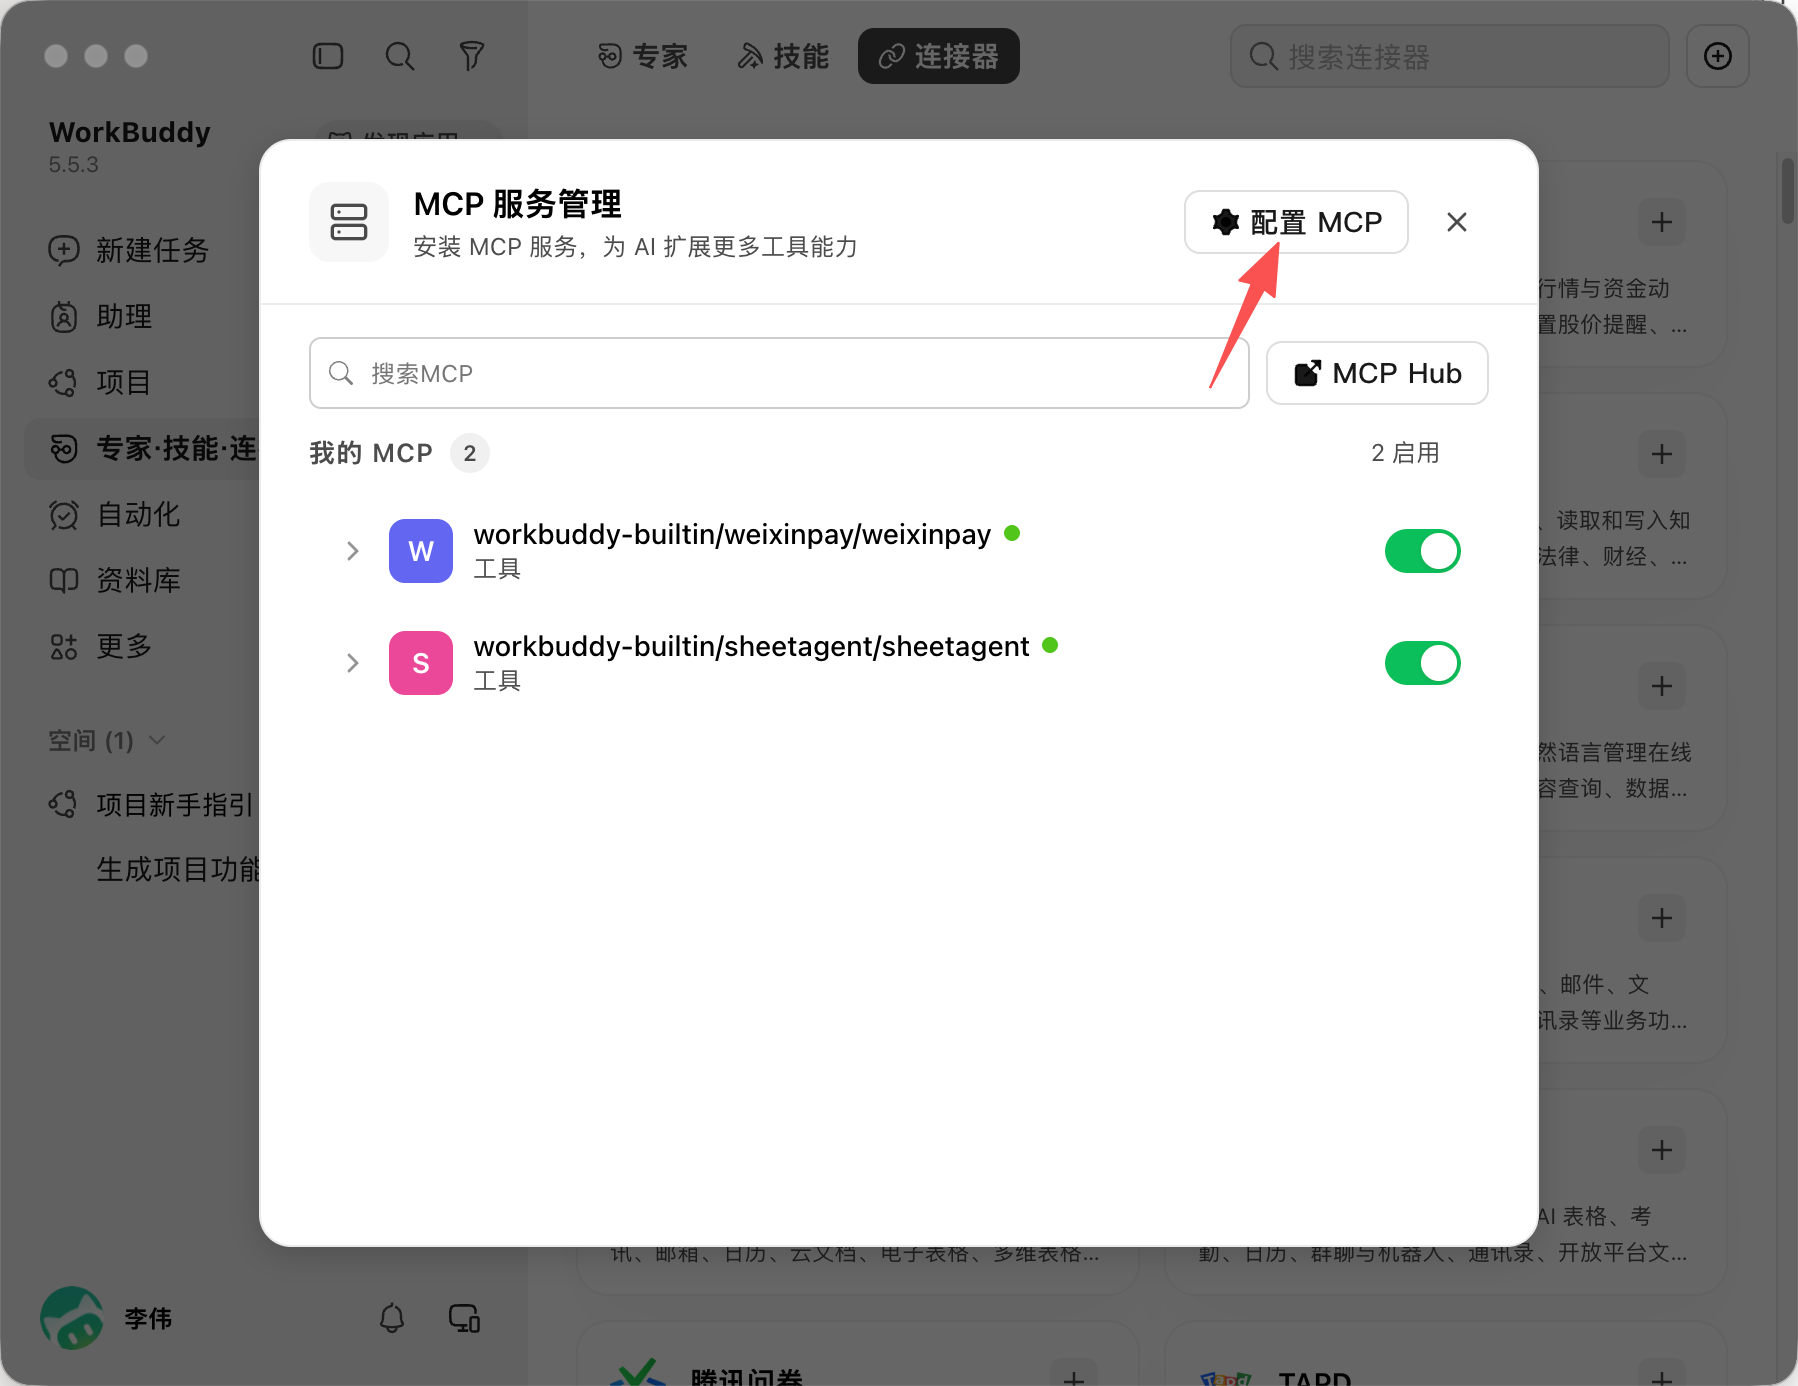
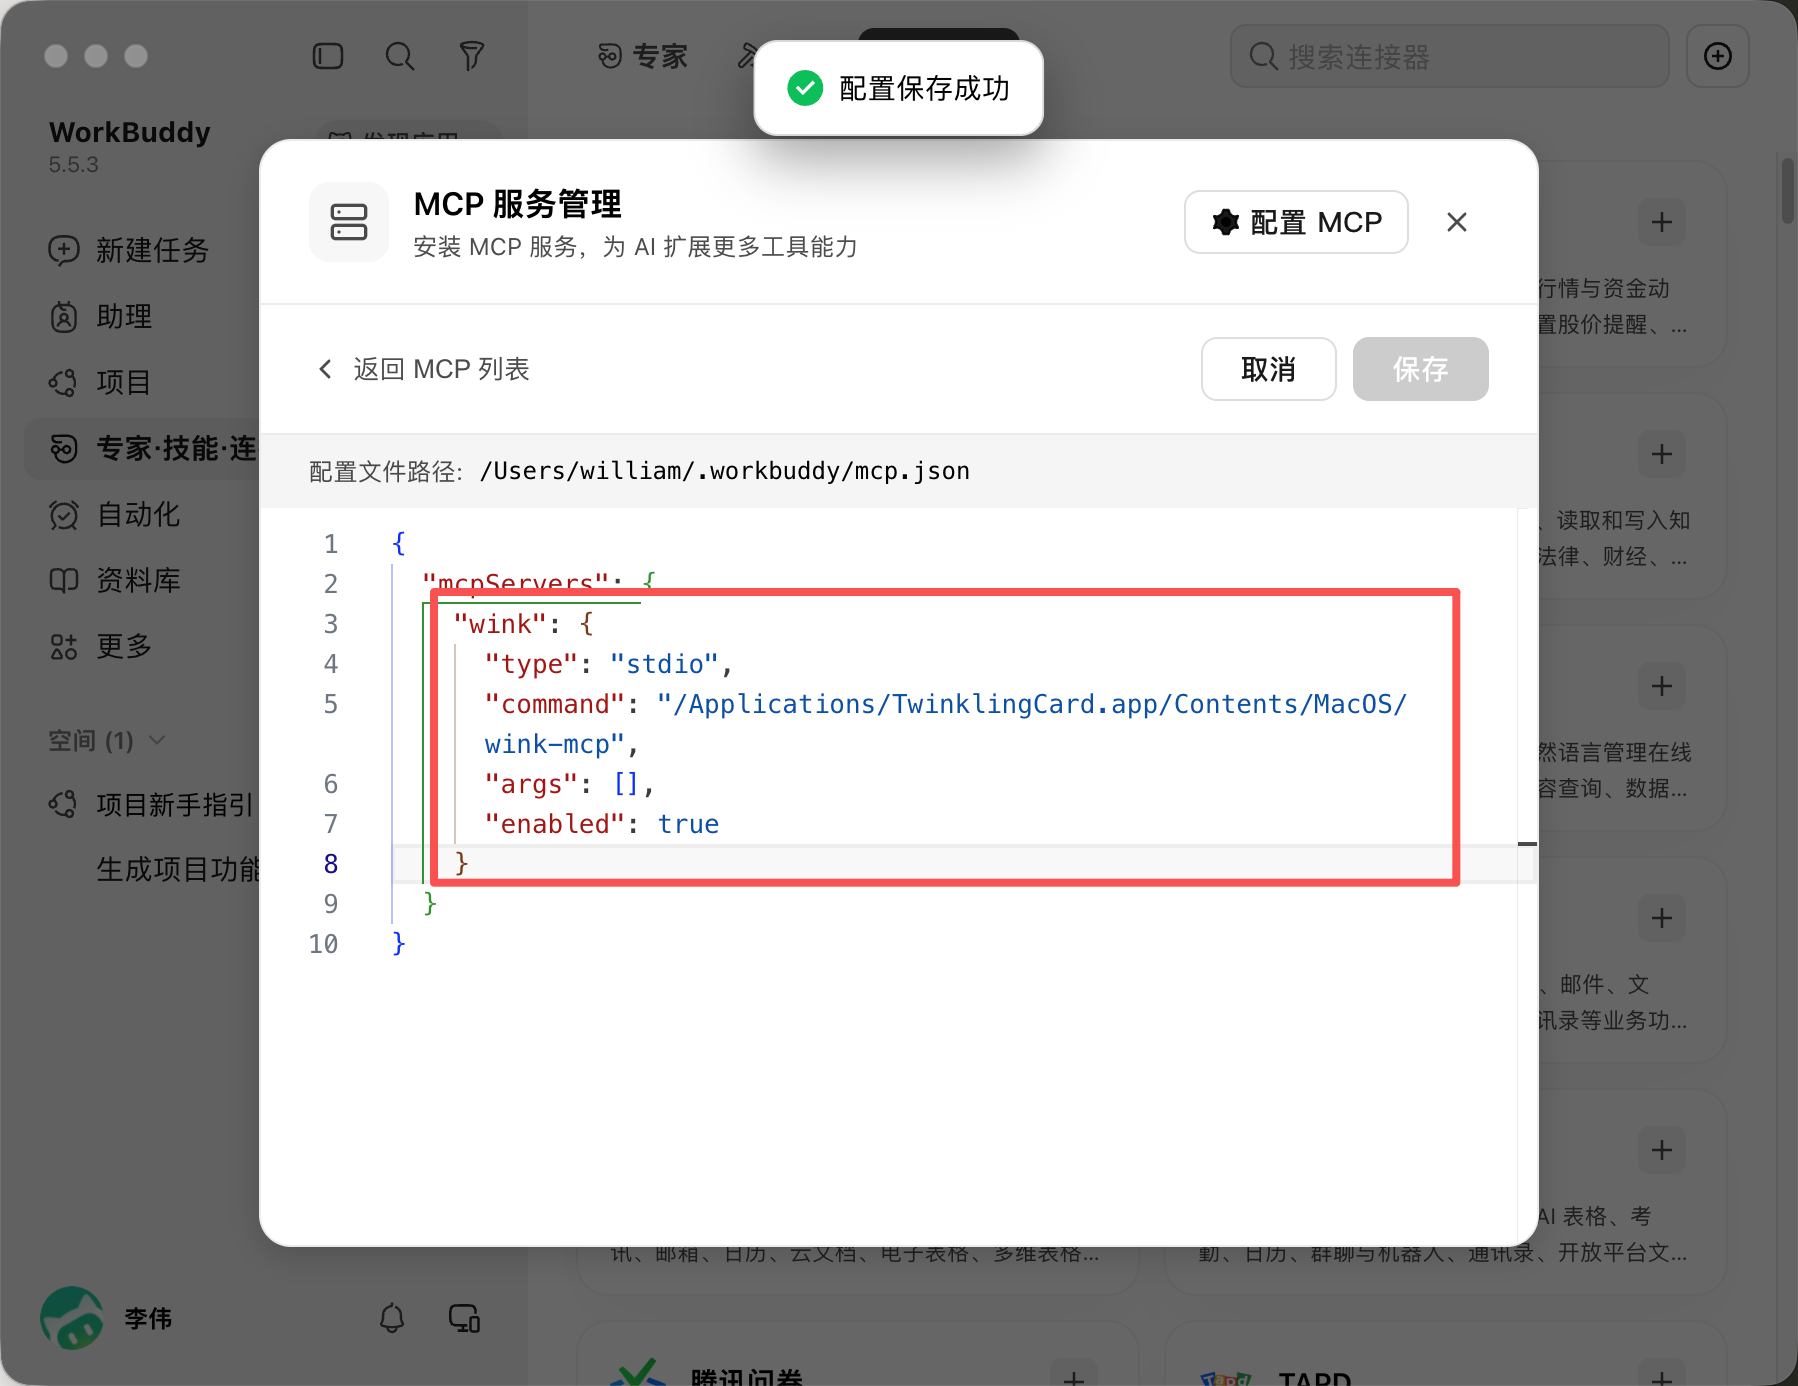
Add the following inside the "mcpServers" braces
"wink": {
    "type": "stdio",
    "command": "/Applications/TwinklingCard.app/Contents/MacOS/wink-mcp",
    "args": [],
    "enabled": true
}
Then tap Back to MCP list.
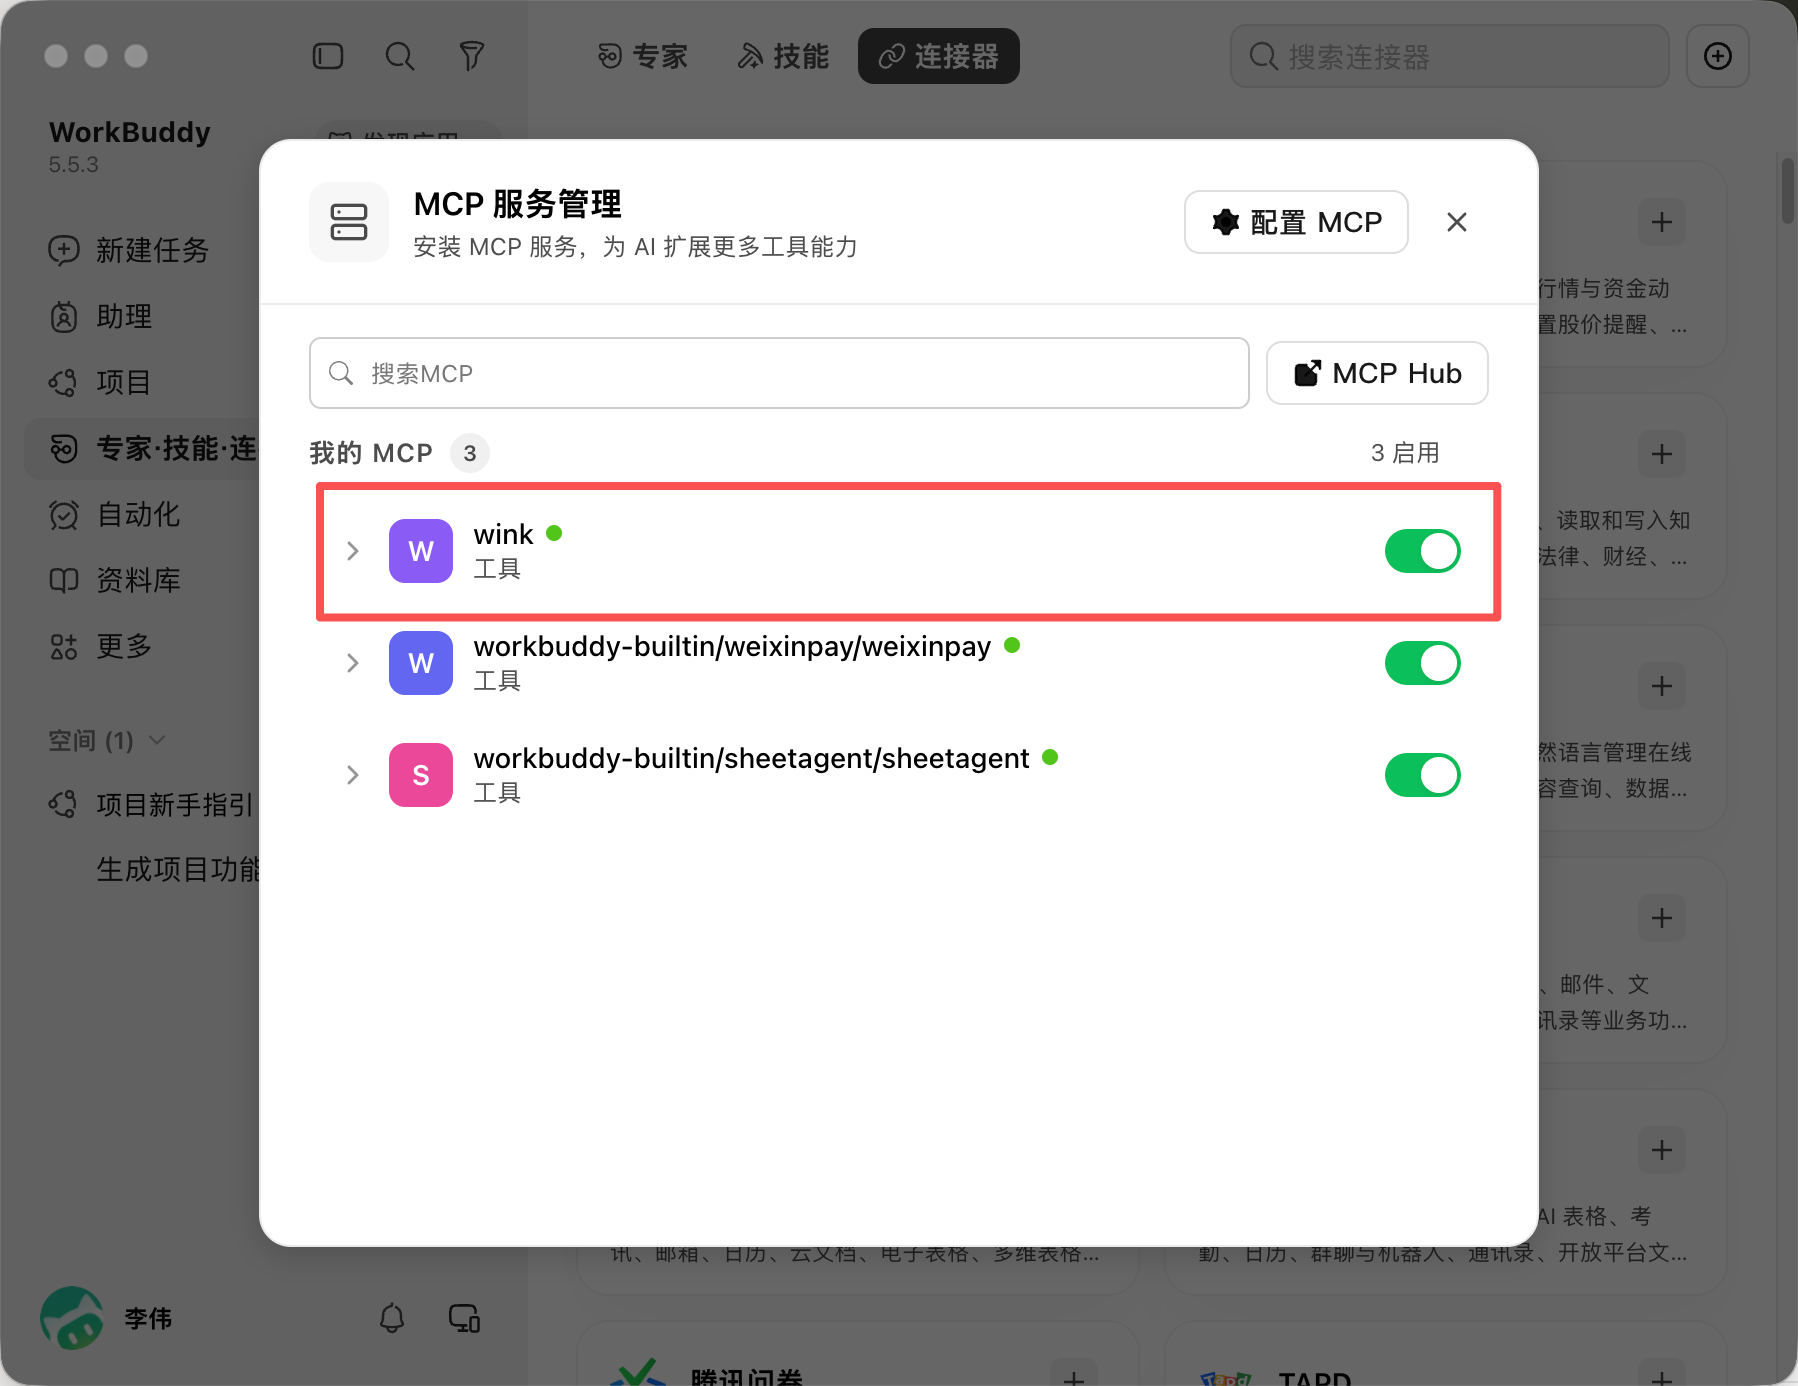
You should see wink as active.
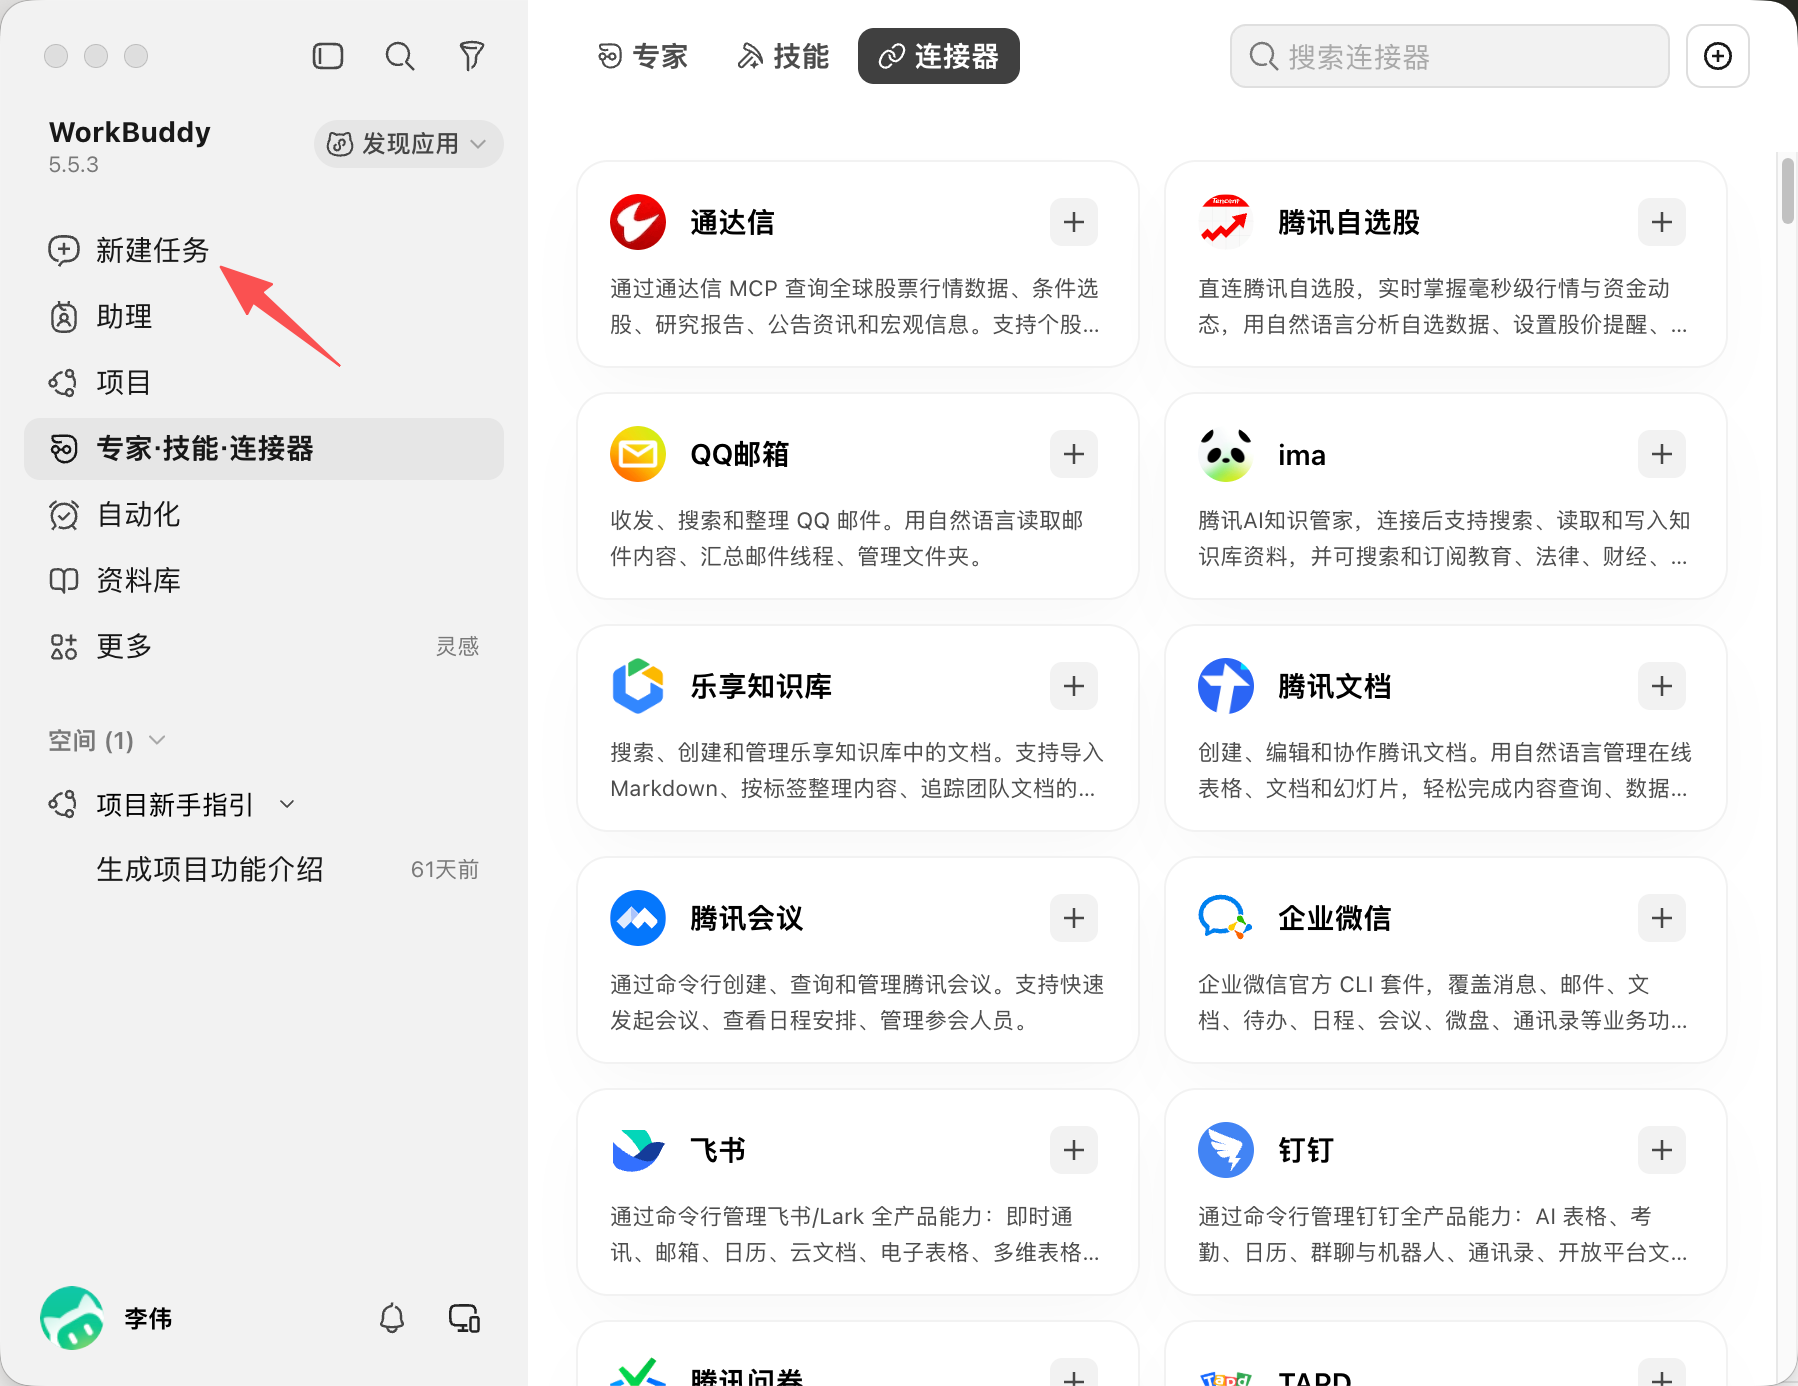
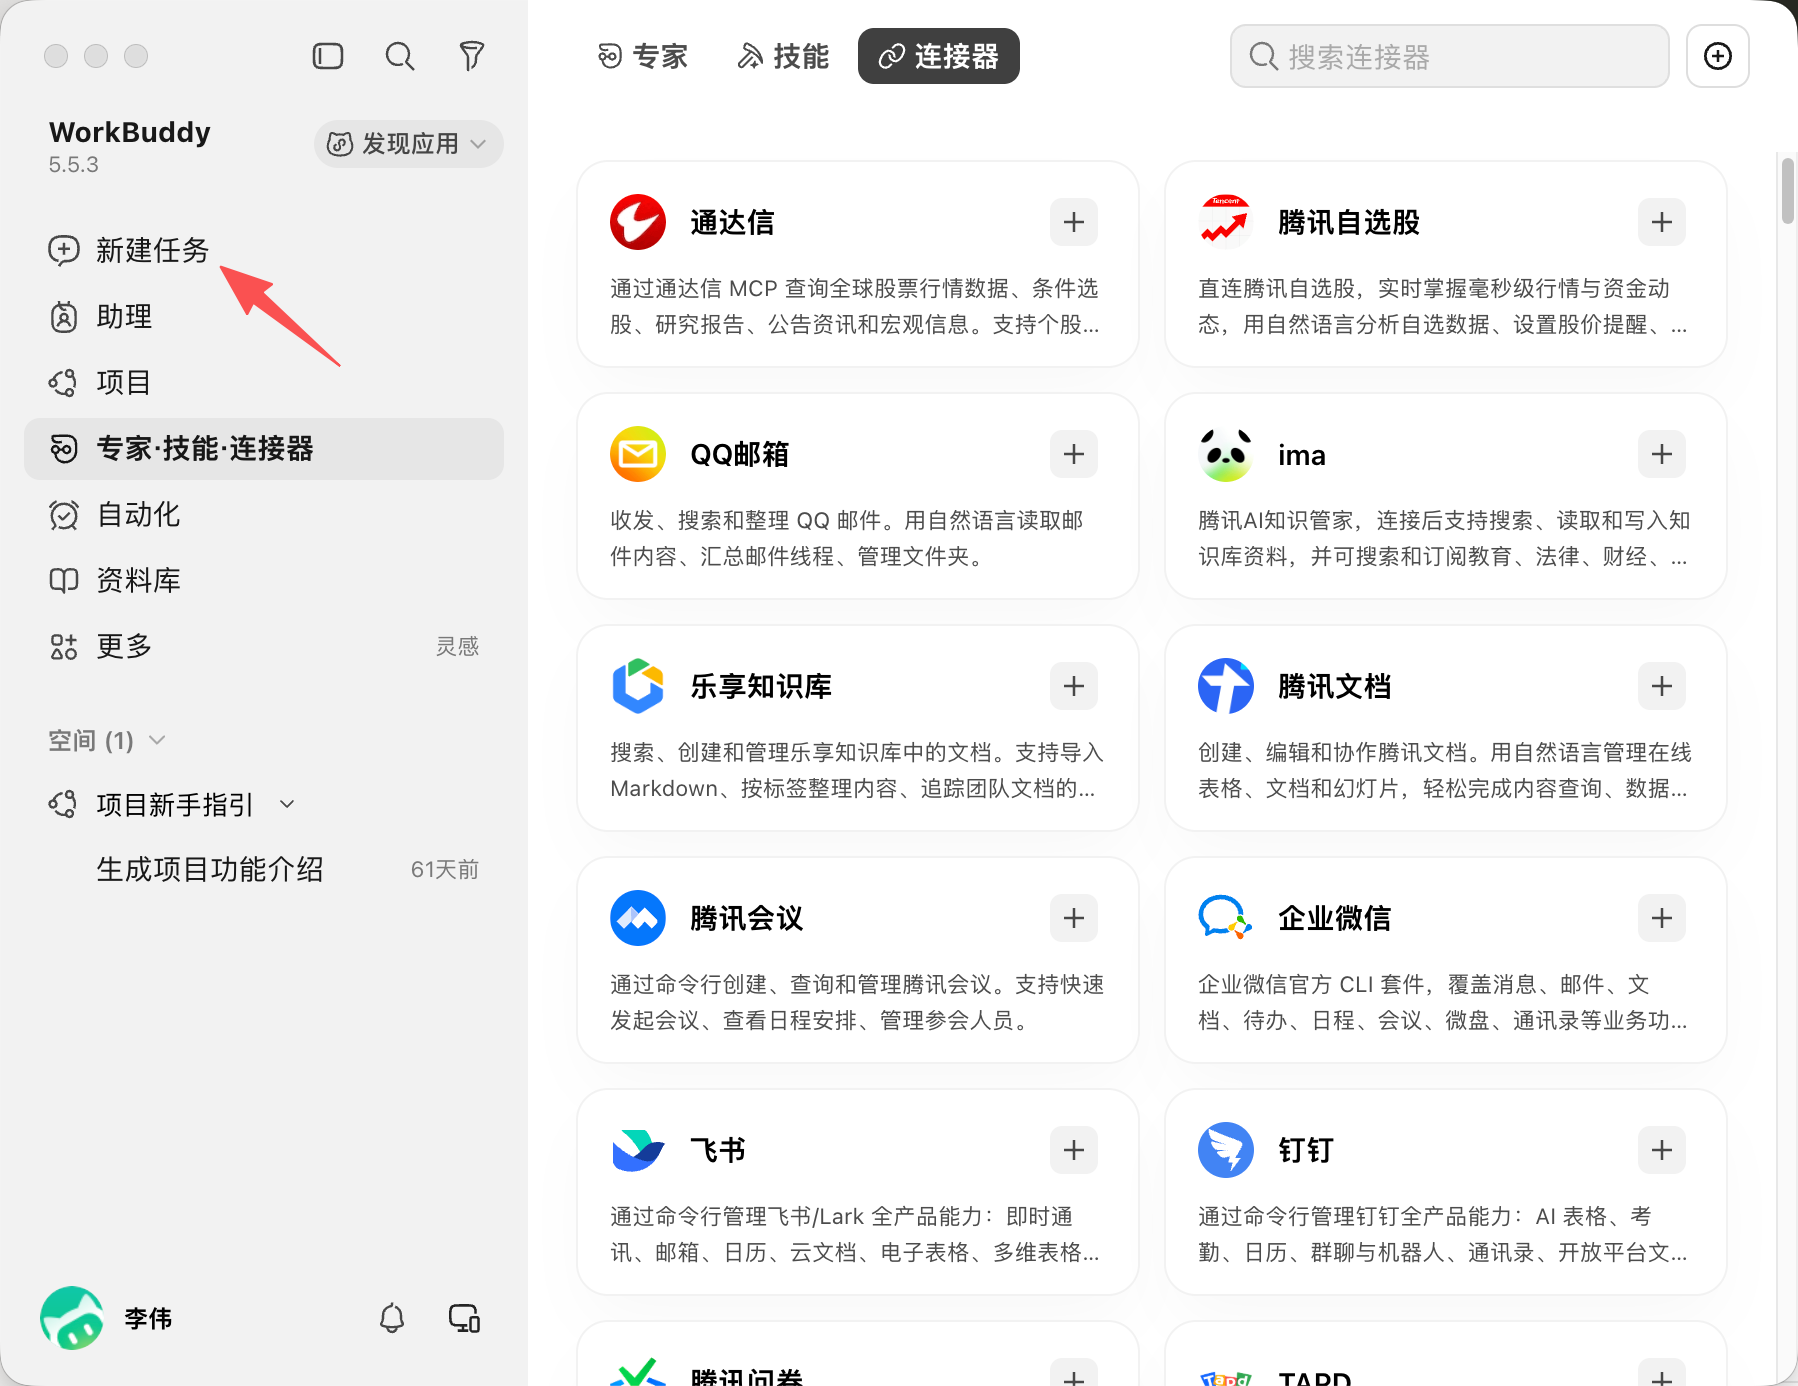
Then start a new task and you are ready to go.
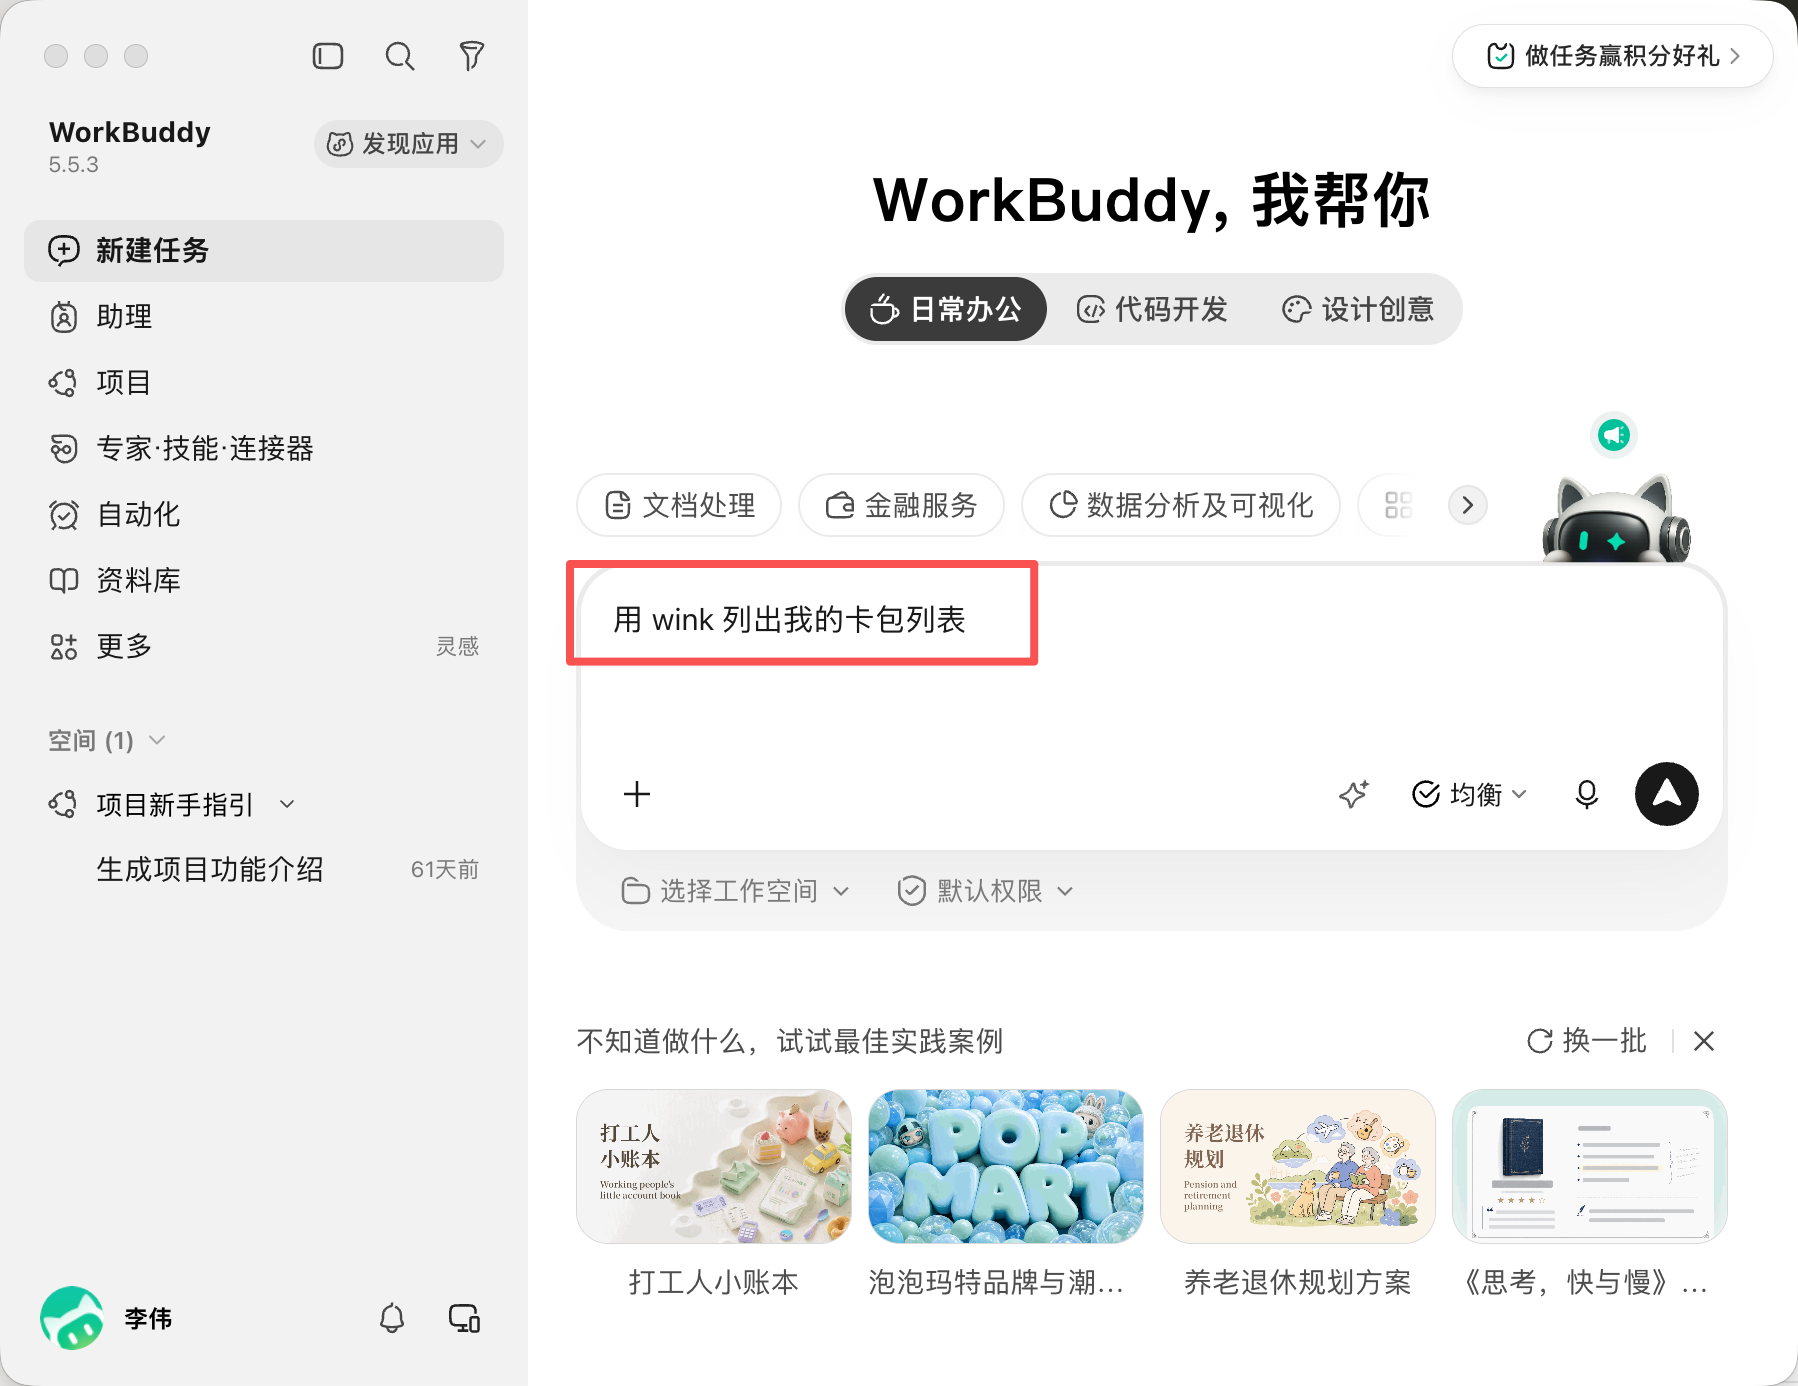
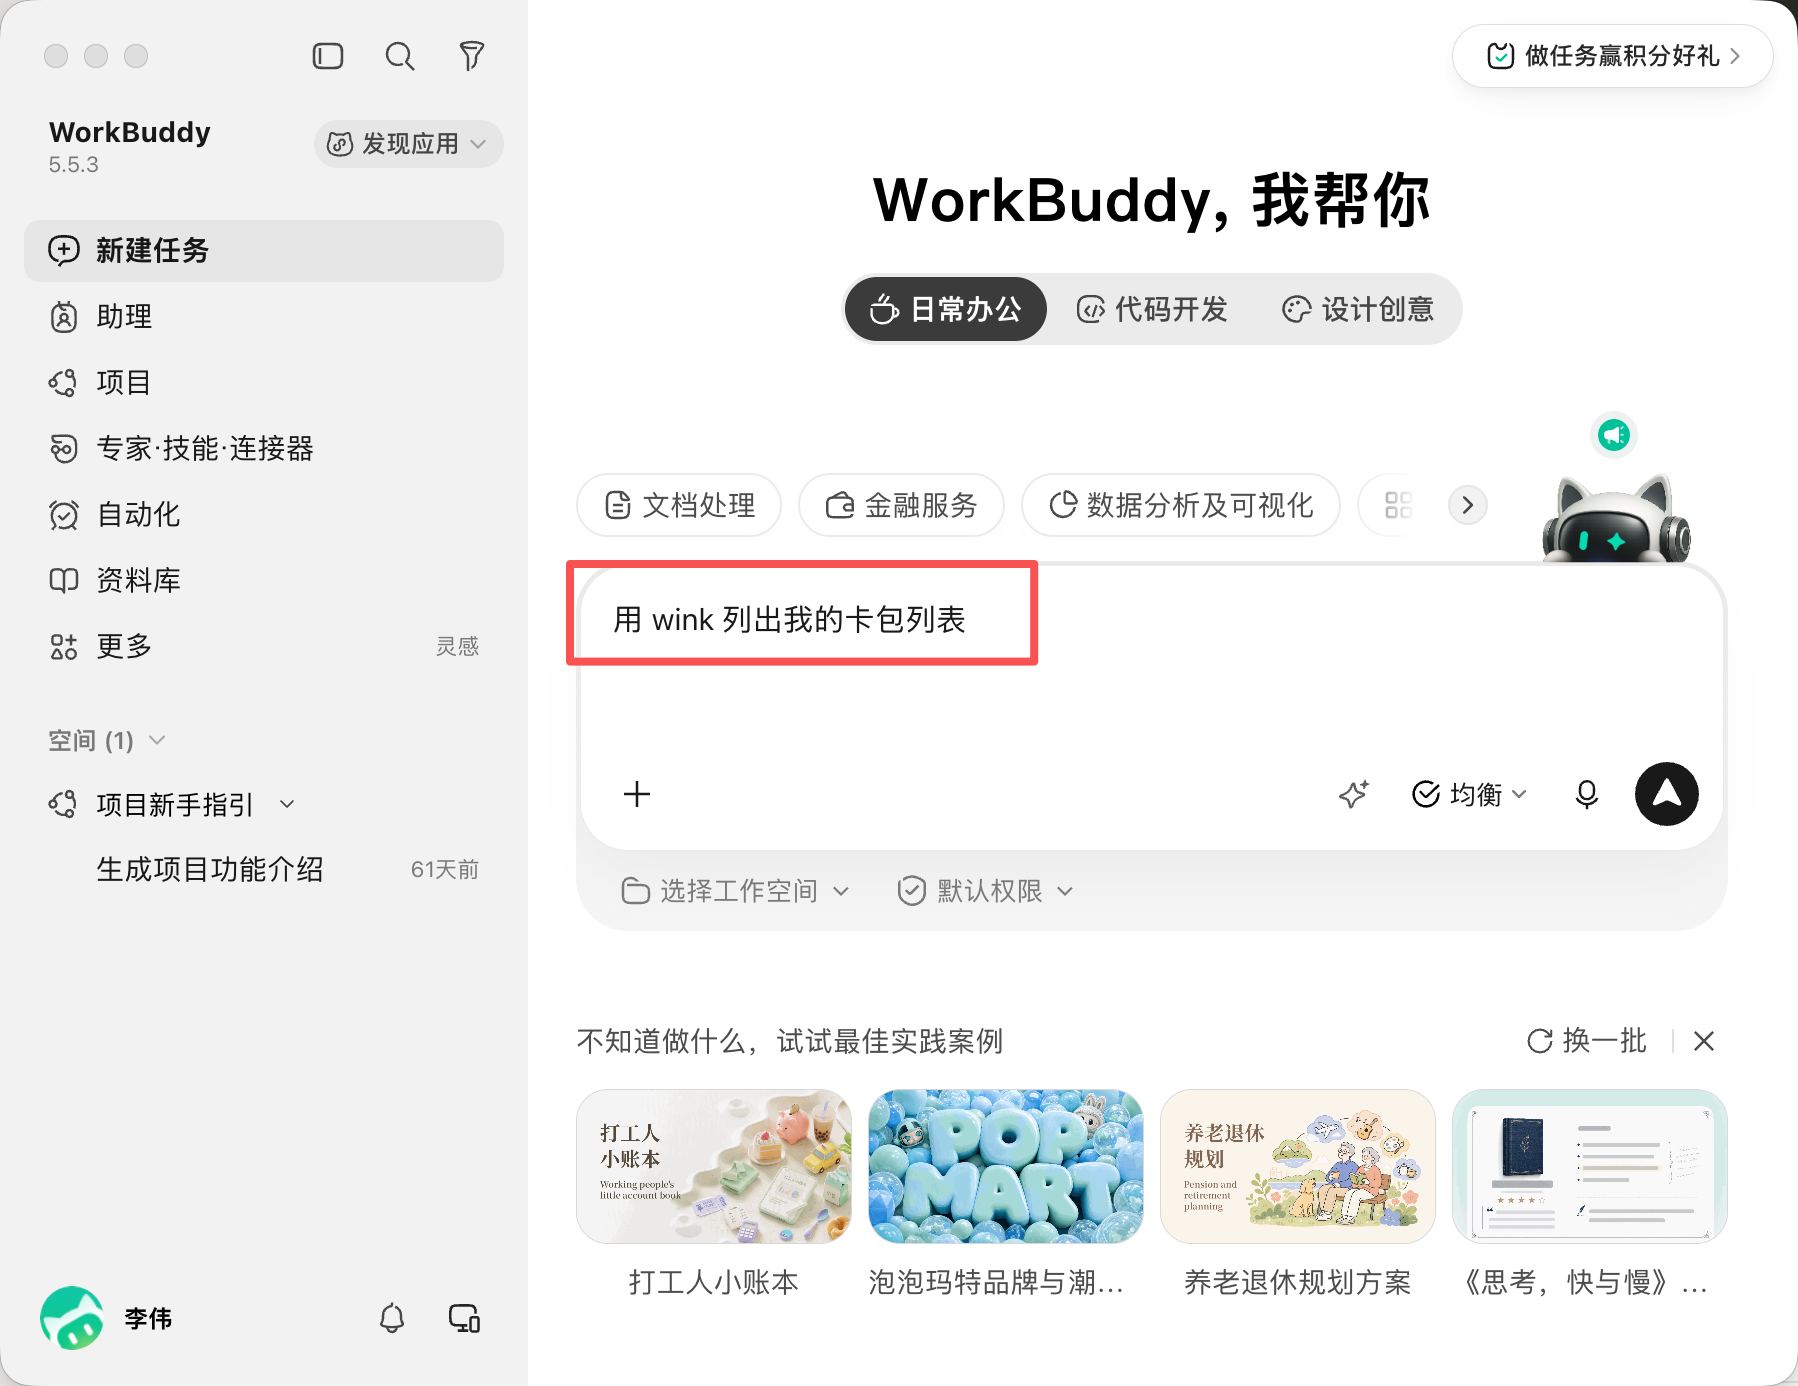
Start the first prompt with “using wink to …”. Once the session has picked up wink, you can leave it out.
Add in chat
Open a new “New task” session and paste:
Please add this MCP server configuration:
"wink": {
    "type": "stdio",
    "command": "/Applications/TwinklingCard.app/Contents/MacOS/wink-mcp",
    "args": [],
    "enabled": true
}
After about 30–60 seconds of thinking, it should tell you it is done.
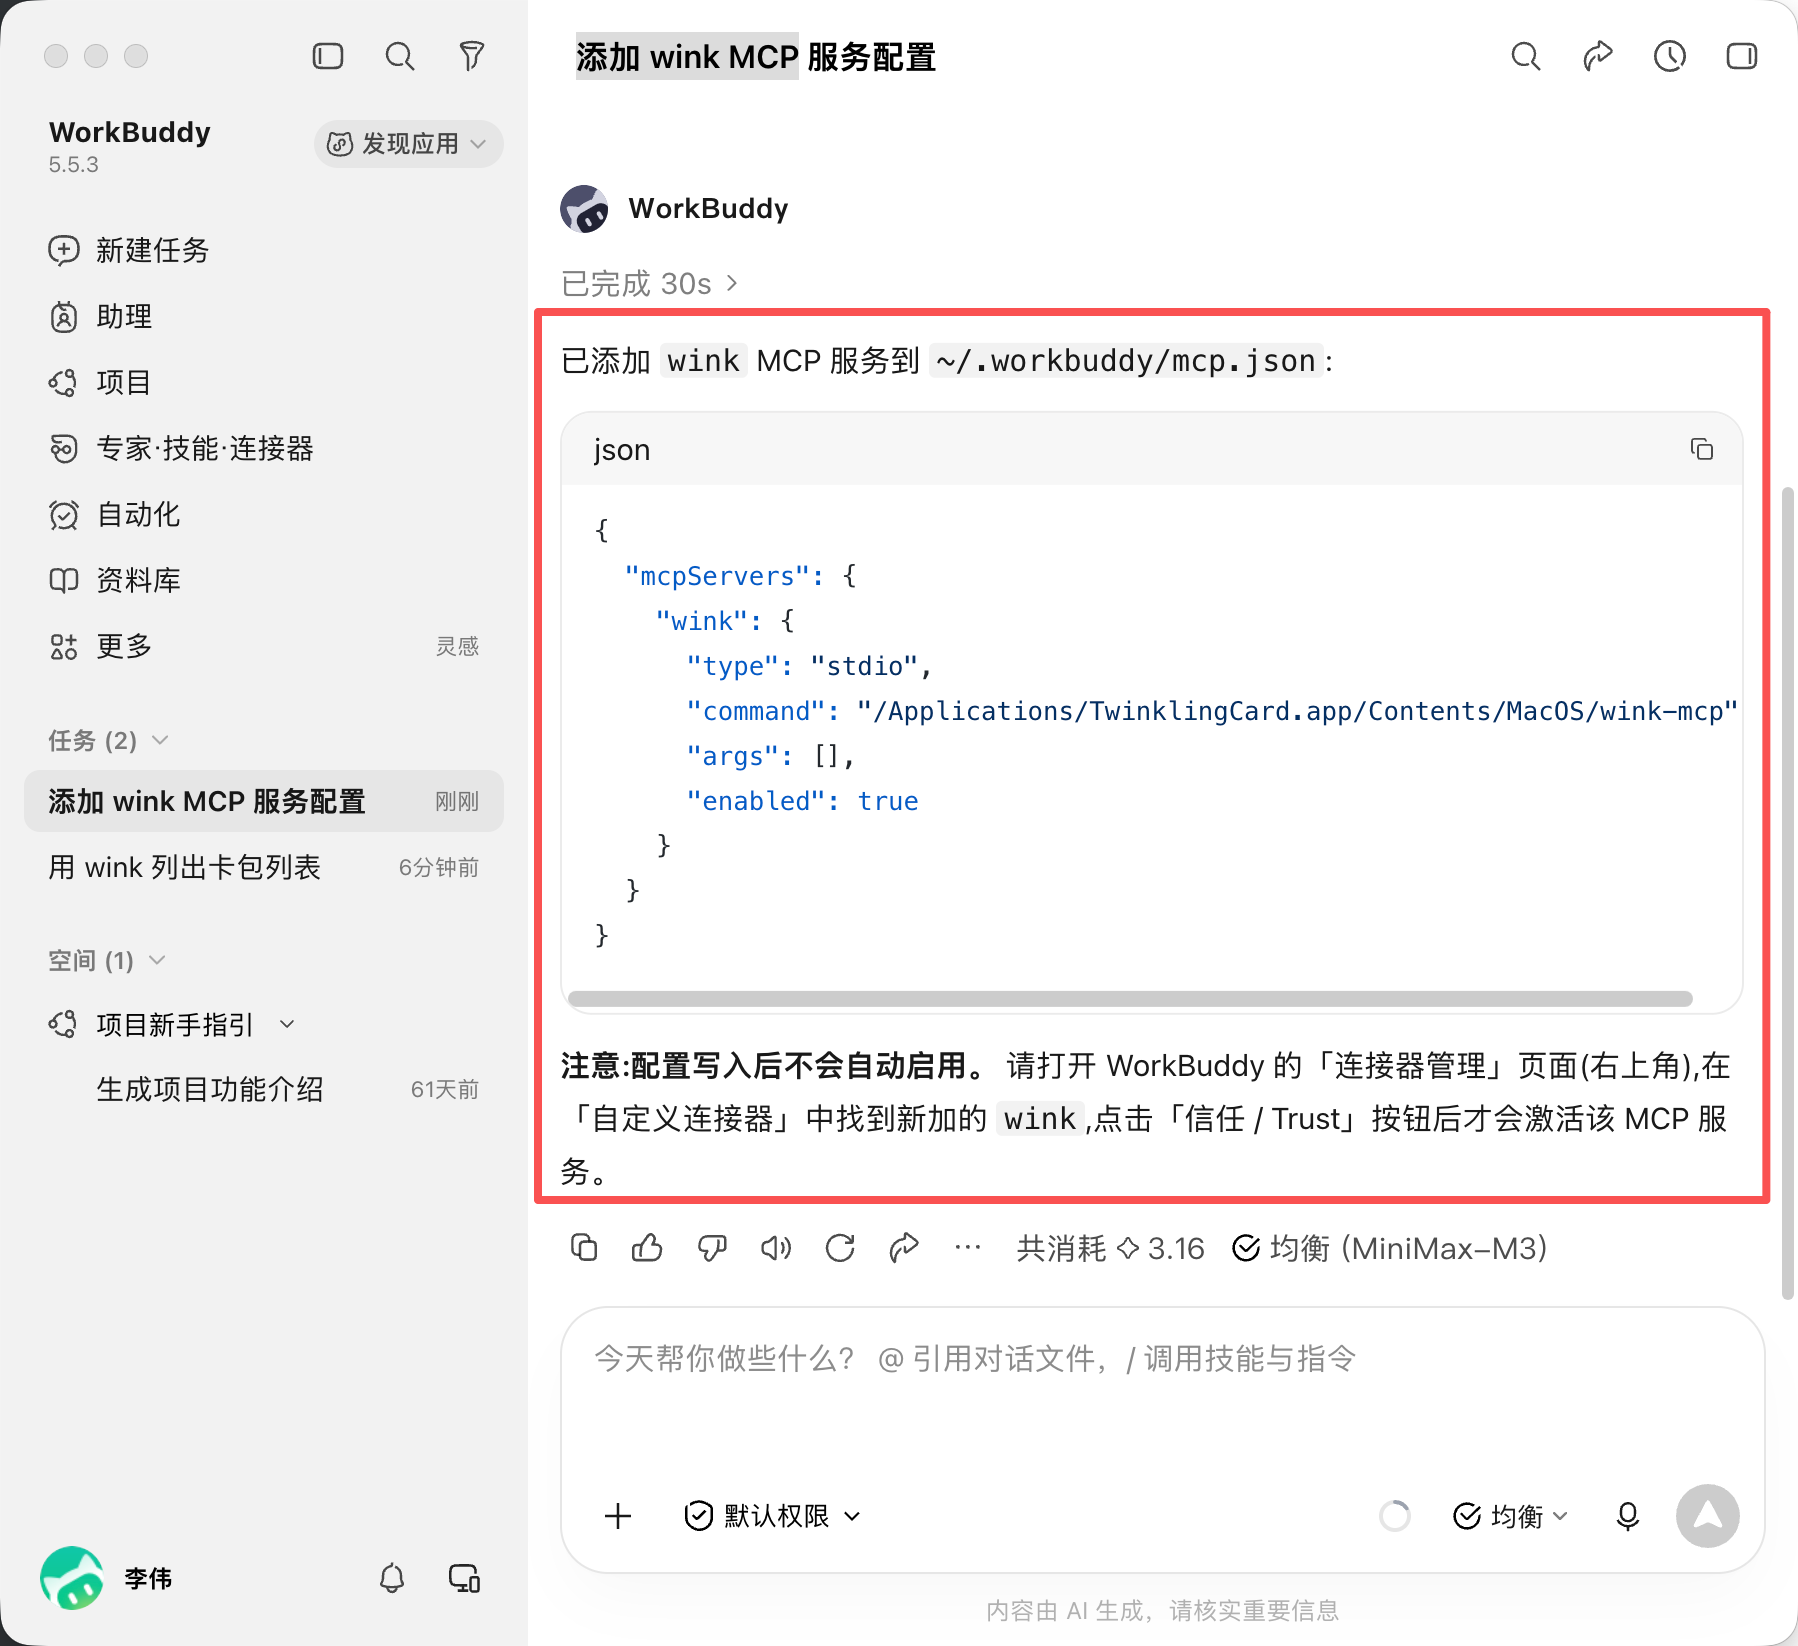
Follow the prompt and confirm wink is turned on.
⚠️ Note: quit WorkBuddy and reopen it.
Then start a new task and you are ready to go.
Start the first prompt with “using wink to …”. Once the session has picked up wink, you can leave it out.